My first 3D printing model
I noticed my vacbot struggling with the height of my sofa and bumping into the side or getting caught underneath it. I decided to fix it using 3D printing.
I am still new to my A1 mini and even though I worked for a CAD-related software company for a while I actually don’t have a lot of experience creating parts. I heard good things about fusion and after reading a little bit and watching some tutorials I started to design my part.
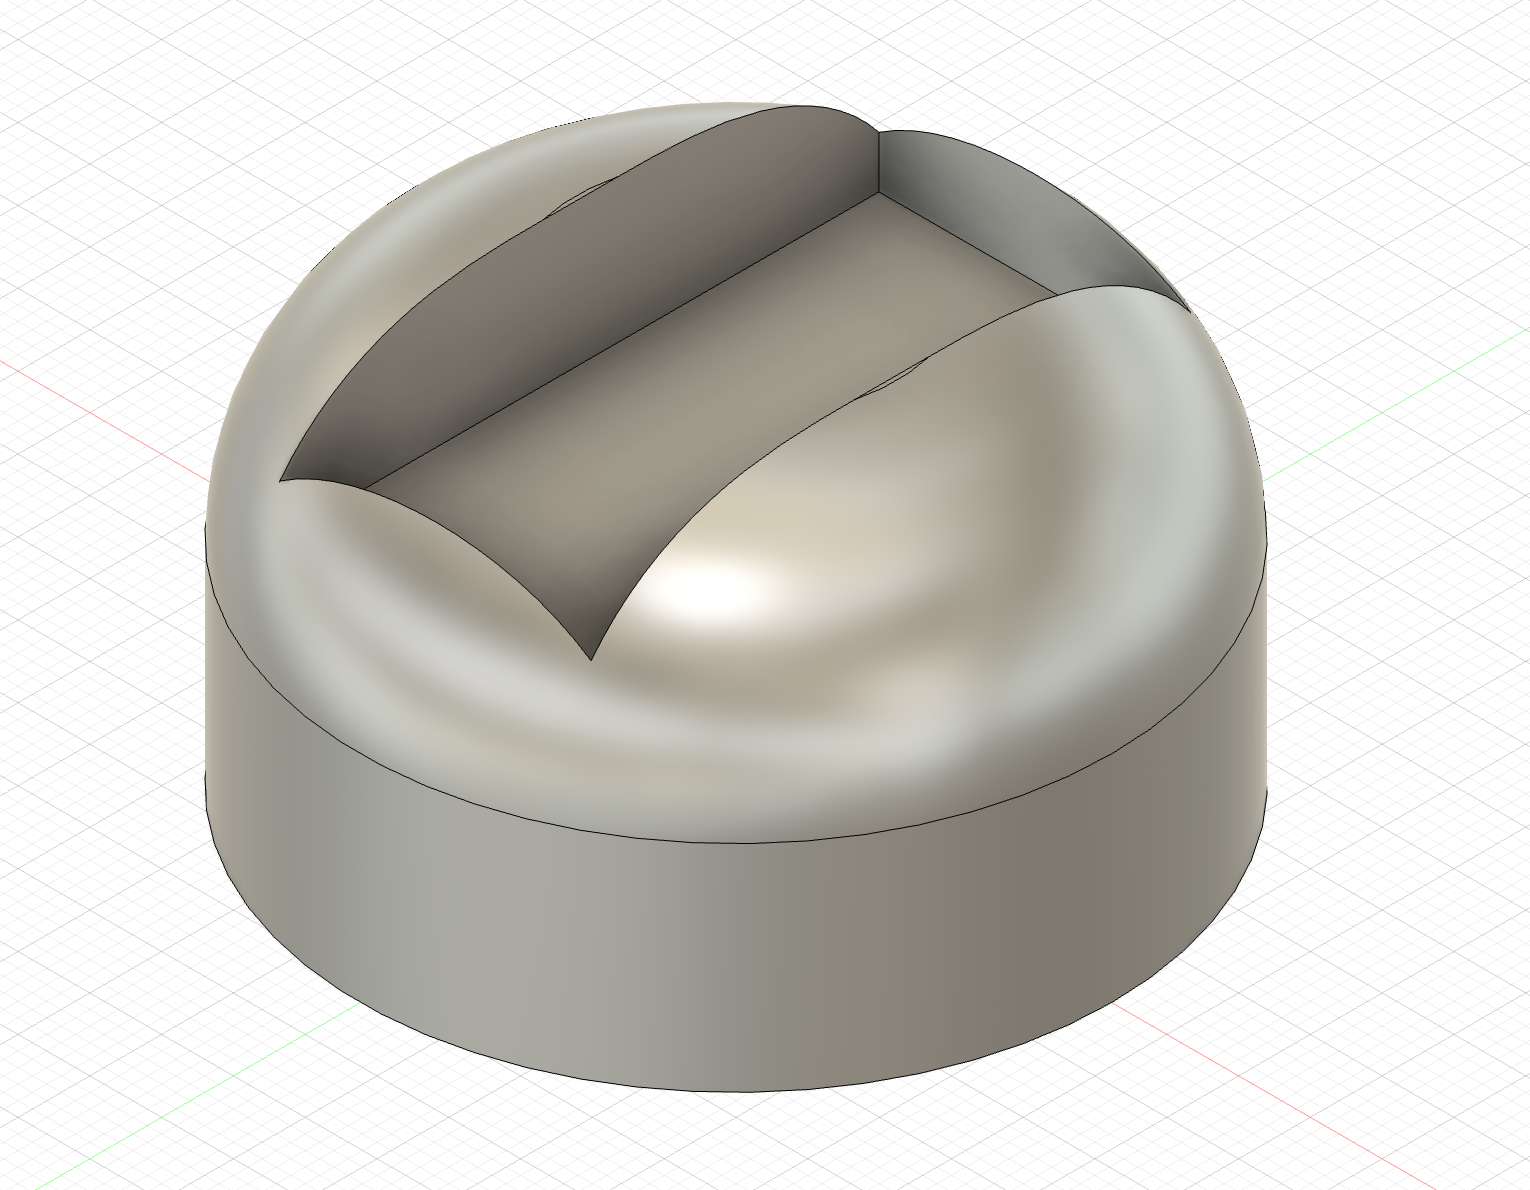
It is a very basic height extender. A cylinder with a rectangular cut-out as a slot in the dimensions of the sofa foot.
I iterated over the design. Each time using the low 10% lightning type infill and a 0.20 mm layer height preset to speed up printing of these prototypes. My first attempt would have used way too much filament because the cylinder’s diameter surrounding the slot was way too big. Since I am such a 3D printing newbie, I could only appreciate these problems once the prototypes were printed. At least the slot fit perfectly from the start. When I got the diameter down to a more reasonable size, I finally used the fillet tool to round off the top to save on material and because I thought it looked cool.
Then it was time to slice: I was unsure what kind of infill to take so it could bear the load of the sofa and 1 to 2 people. I went for the triangle and 40% infill, which seemed a pretty good tradeoff between printing time and sturdiness. I printed two Sofadisks on a plate with the ‘by-object’ setting and used the auto-arrangement to make sure that the tools path between those two Sofadisks don’t intersect. I also added a brim because I wanted to have the best first layer adhesion possible.
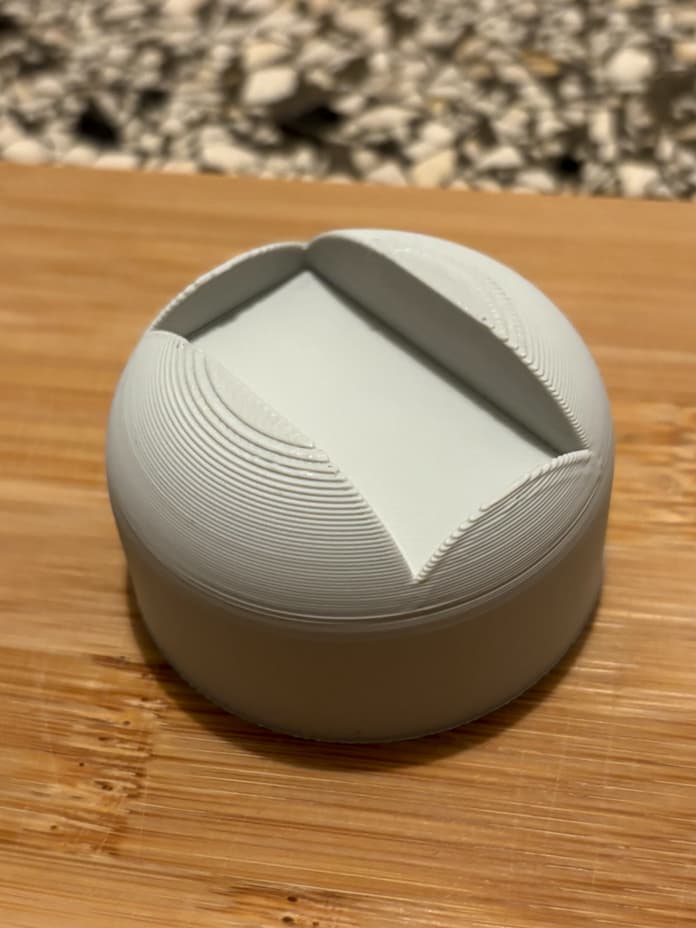
And it worked great! The Sofadisk was a fun and easy afternoon project. From idea over prototypes that could be printed in 30 minutes to the final print in 3 hours.
Let’s see how it holds up or if I need to print it again with higher infill percentage.