Walt Disney

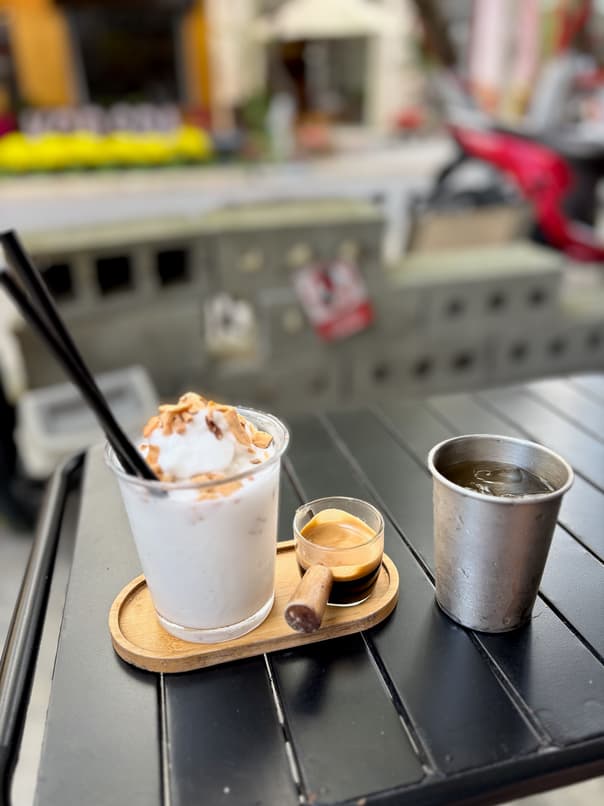 blended coconut ice with pour-on coffee shot, water
I now understand what they mean when they say that the tourist path through Vietnam is well established. Almost a little too much. The upside is that all western amenities and comforts are readily available.
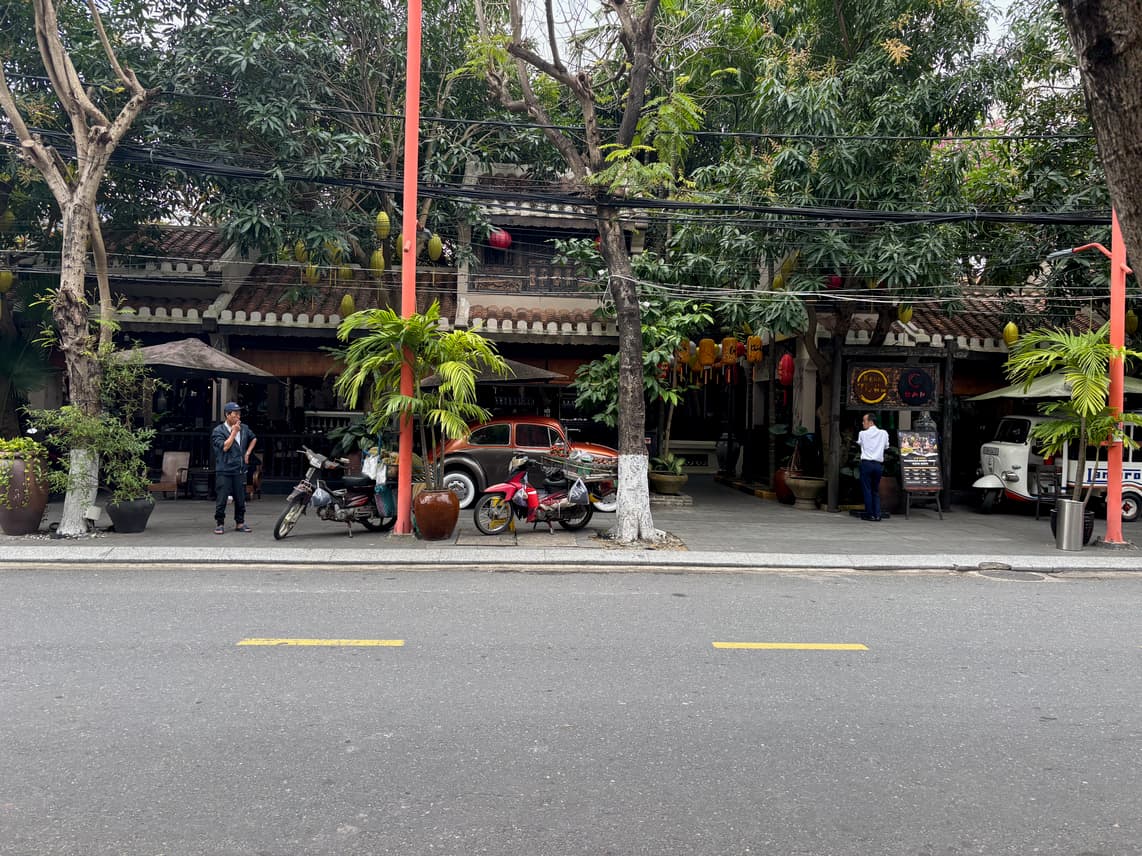
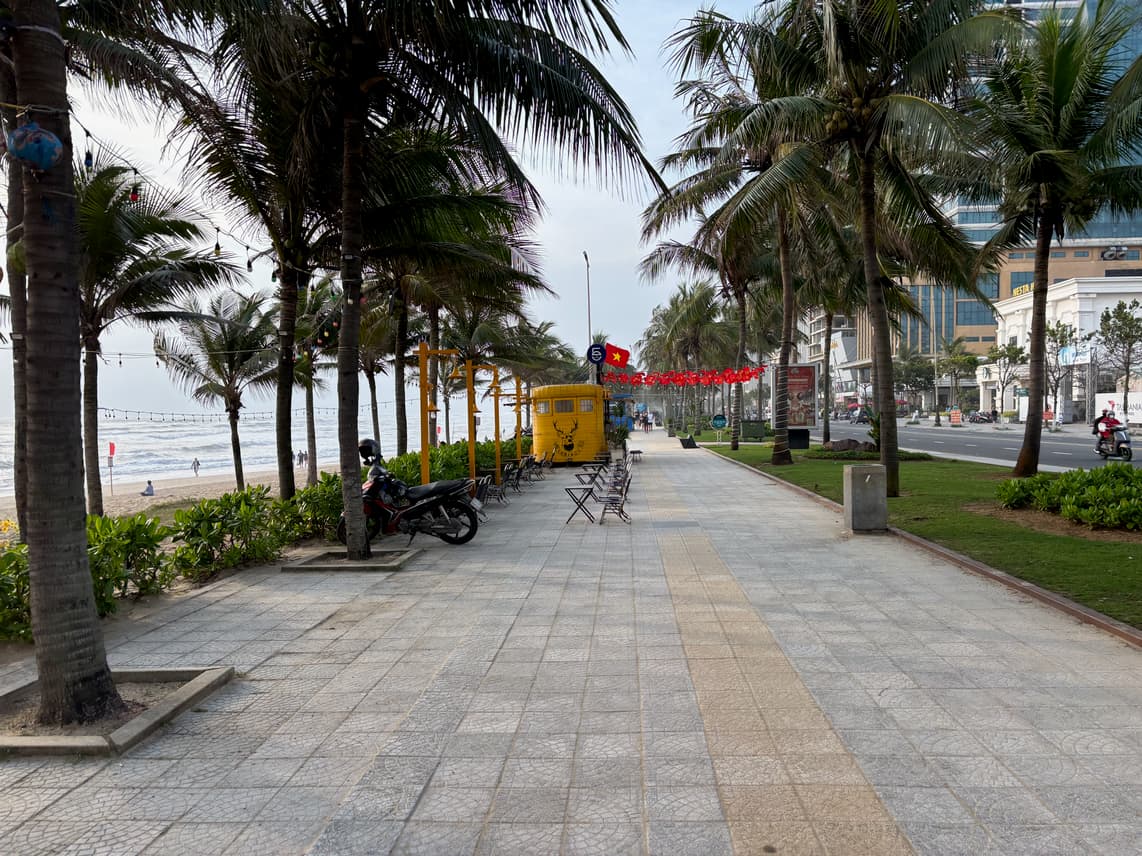
Danang especially in My An can be a bit much for me on some streets but other streets are blissfully relaxed and quiet still.
The My Quang right outside my door is delicious, the coffee as abundant as ever and the water of the East Sea refreshingly cold. The humidity of a constant >80% is something I need to get used to.
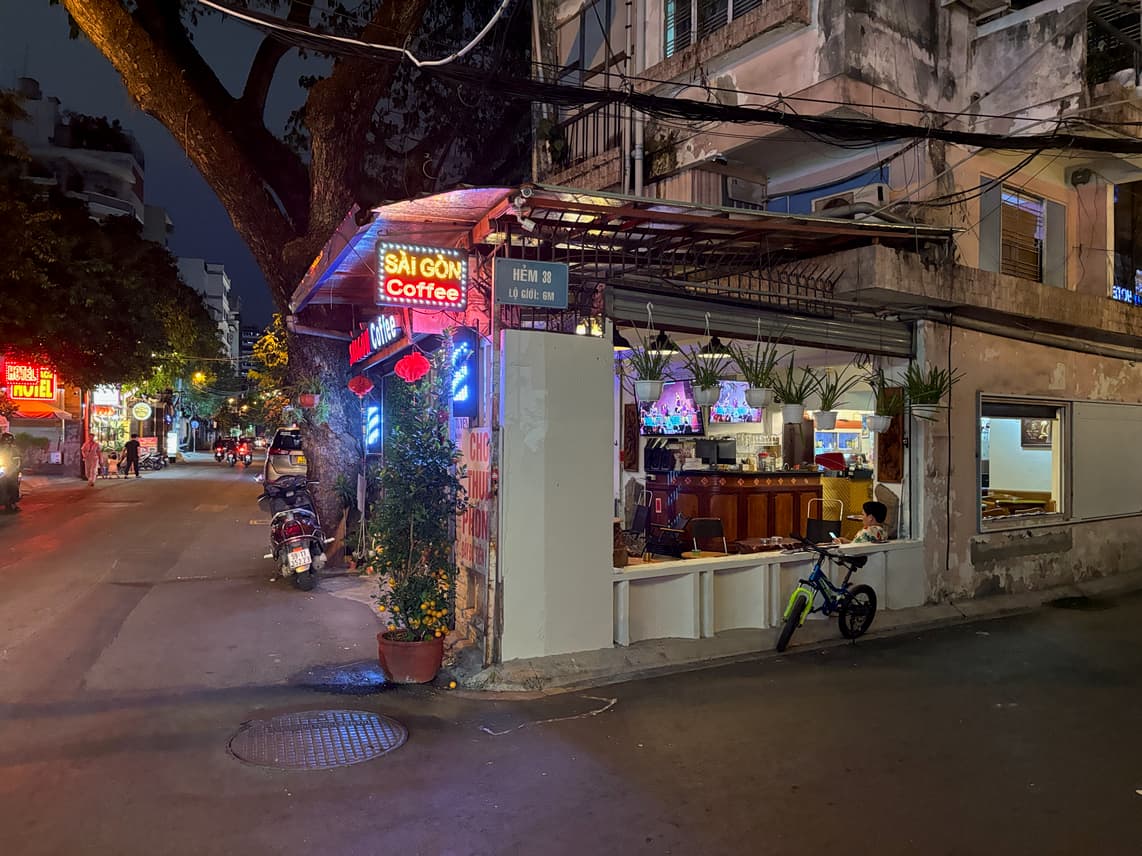
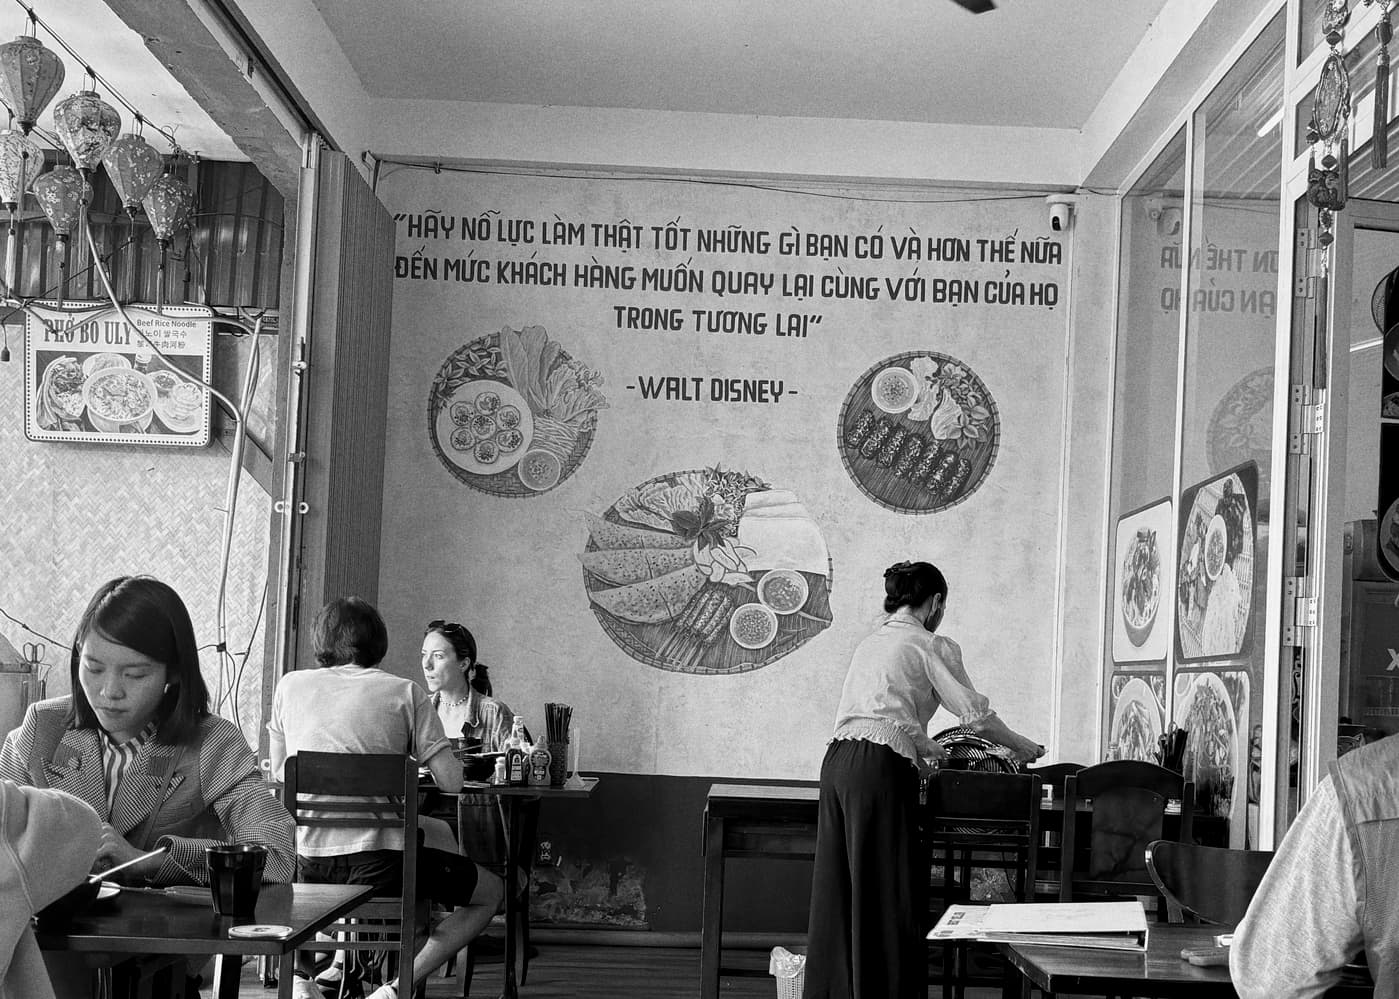
It was already dark when I arrived in Ho Chi Minh City. First impression: Coffee. Coffee everywhere anytime. Doesn’t matter if it is in the middle of the night or early morning.
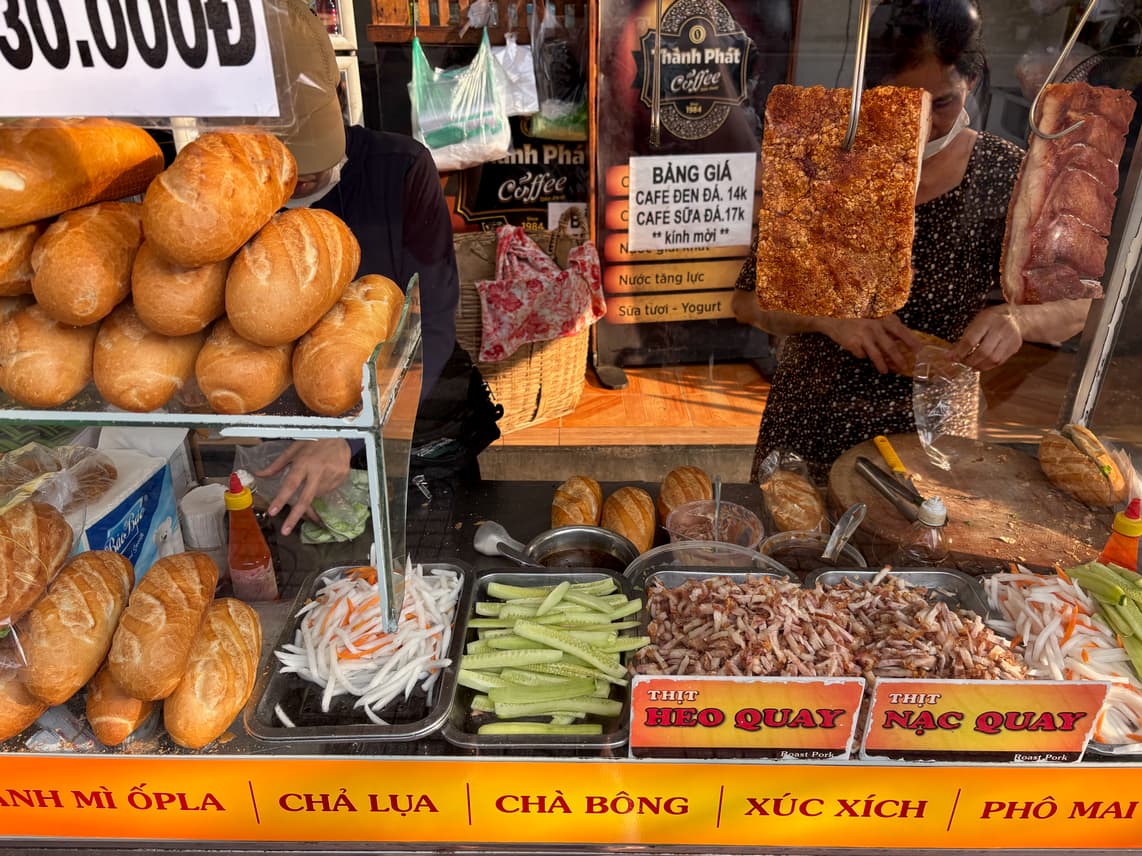
Also, the food is pretty good here (understatement). Next morning Breakfast Banh Mi. I always get a tactical one for the road as well.
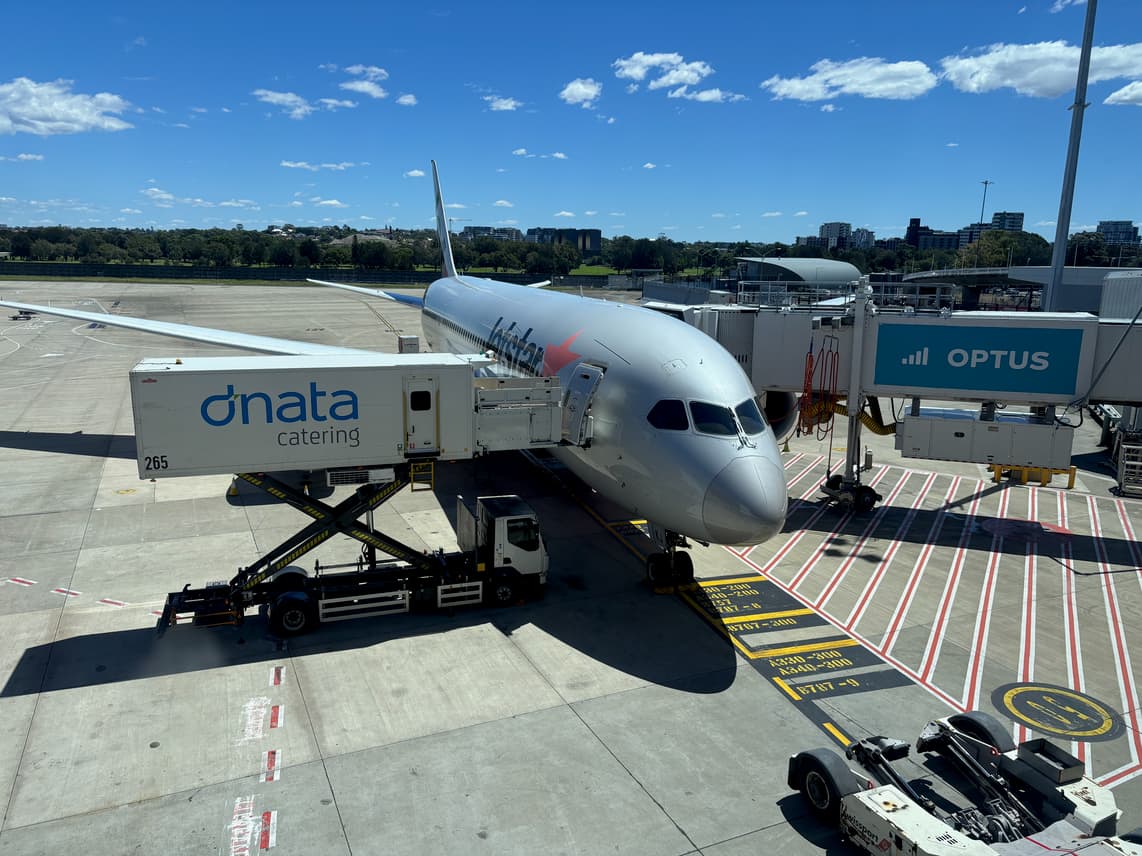 Jetstar flight from Sydney to Ho Chi Minh City
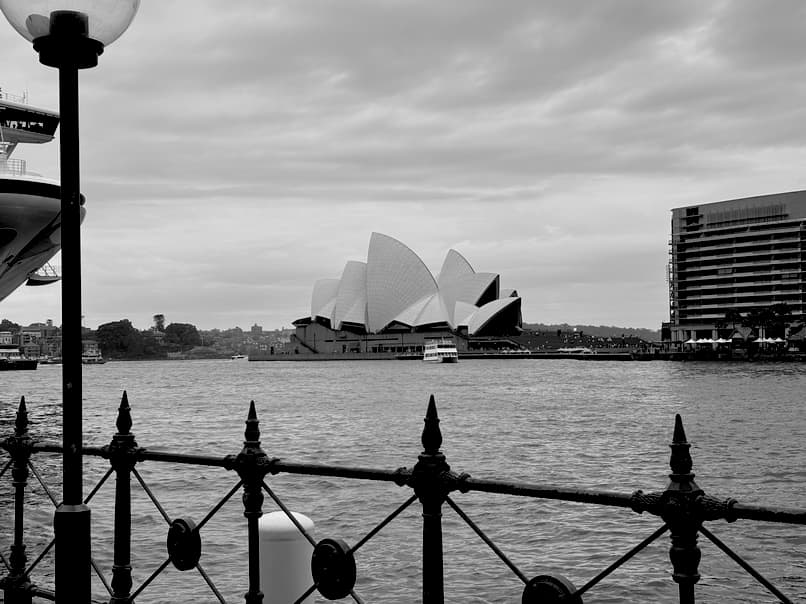
After only two short nights in Sydney I am heading out to Vietnam where I will probably stay for a longer time. I again found a very reasonably priced flight and on Sunday 16th of February I left the Southern Hemisphere. I can see myself visiting Australia again in the future but for now I want to explore SEA.
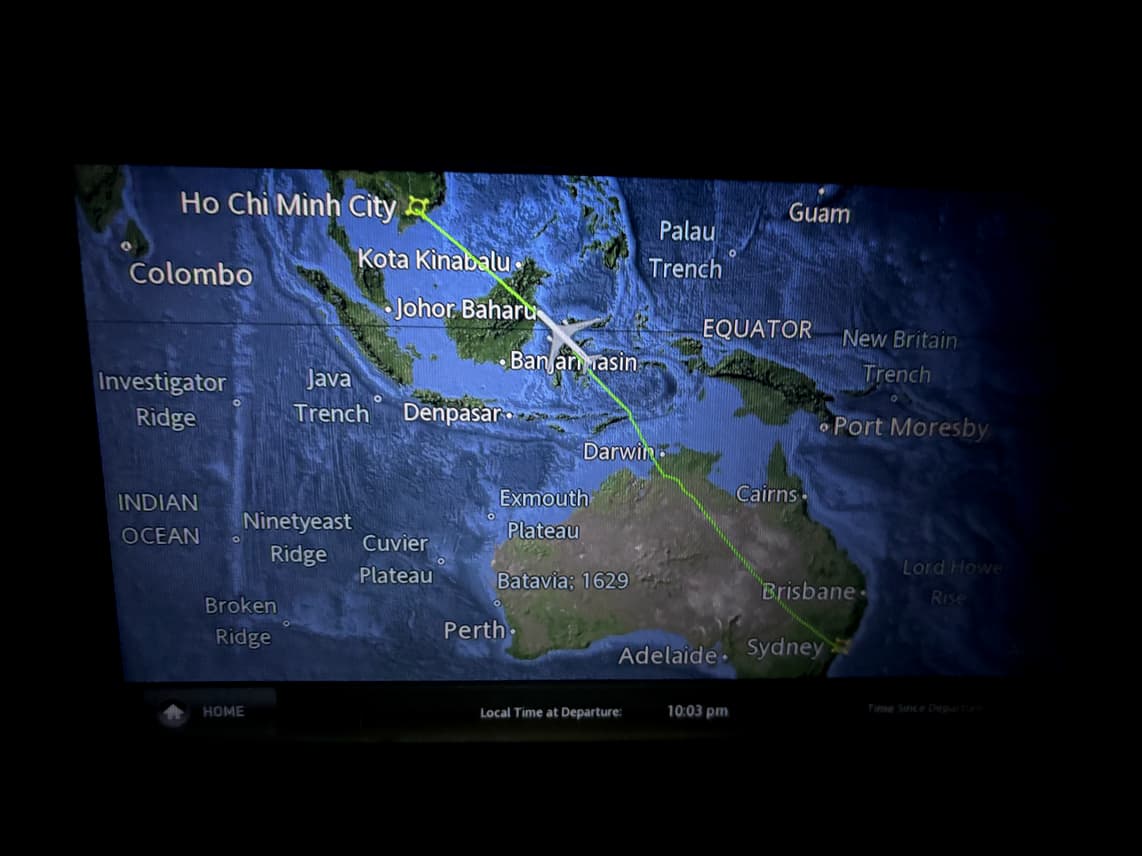 Taking me over Australia and Indonesia to the south of Vietnam
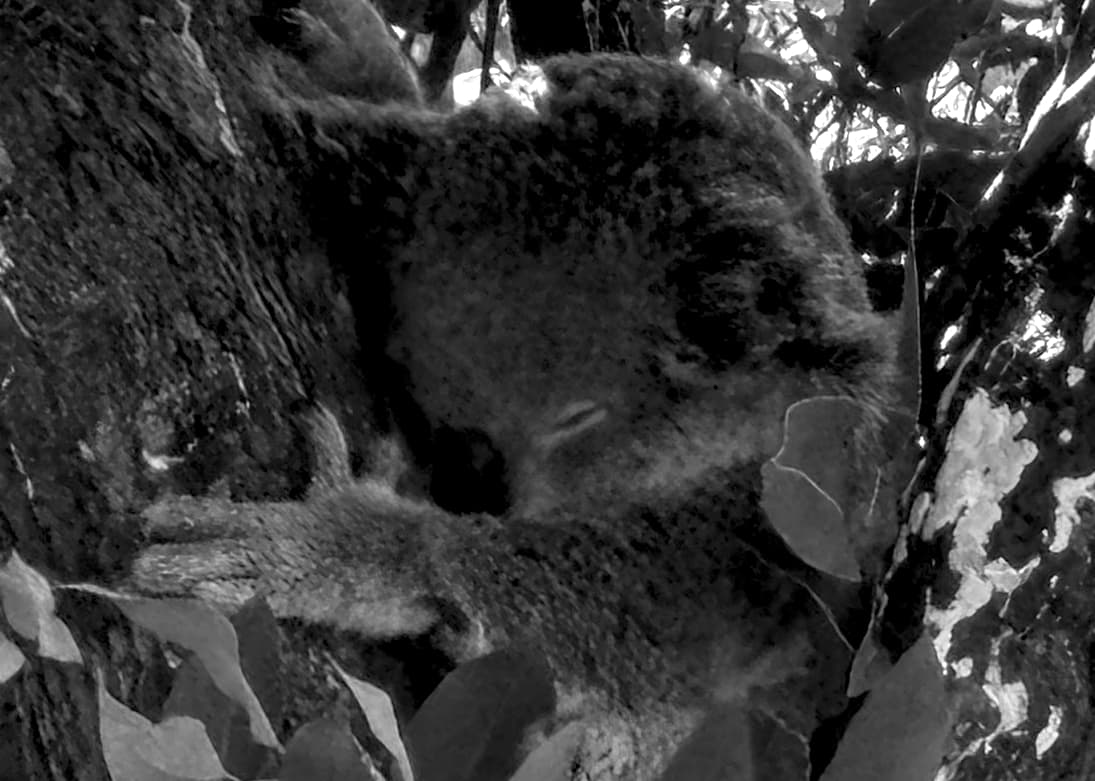
Even though I only stayed in Darling Harbour Sydney for two nights I had to see some Koalas. There were some only a two short ferry rides away. I went super early when there were still not so many visitors around. Maybe too early because the Koalas were also still sleeping.
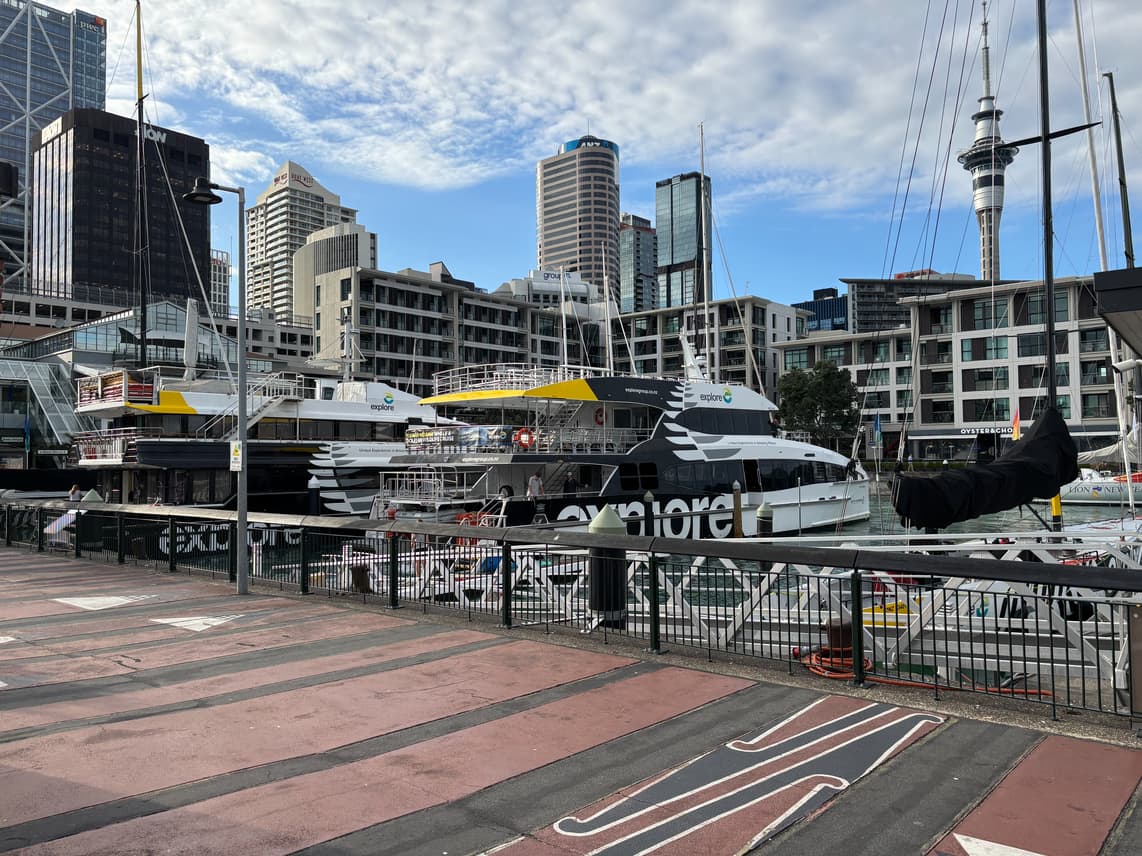
One of those days when you don’t need an alarm because you know that day will be great. The boat to Tiritiri Matangi was leaving early from the Viaduct Harbour in Auckland.
 Tuhi Rapa waiting for us to board
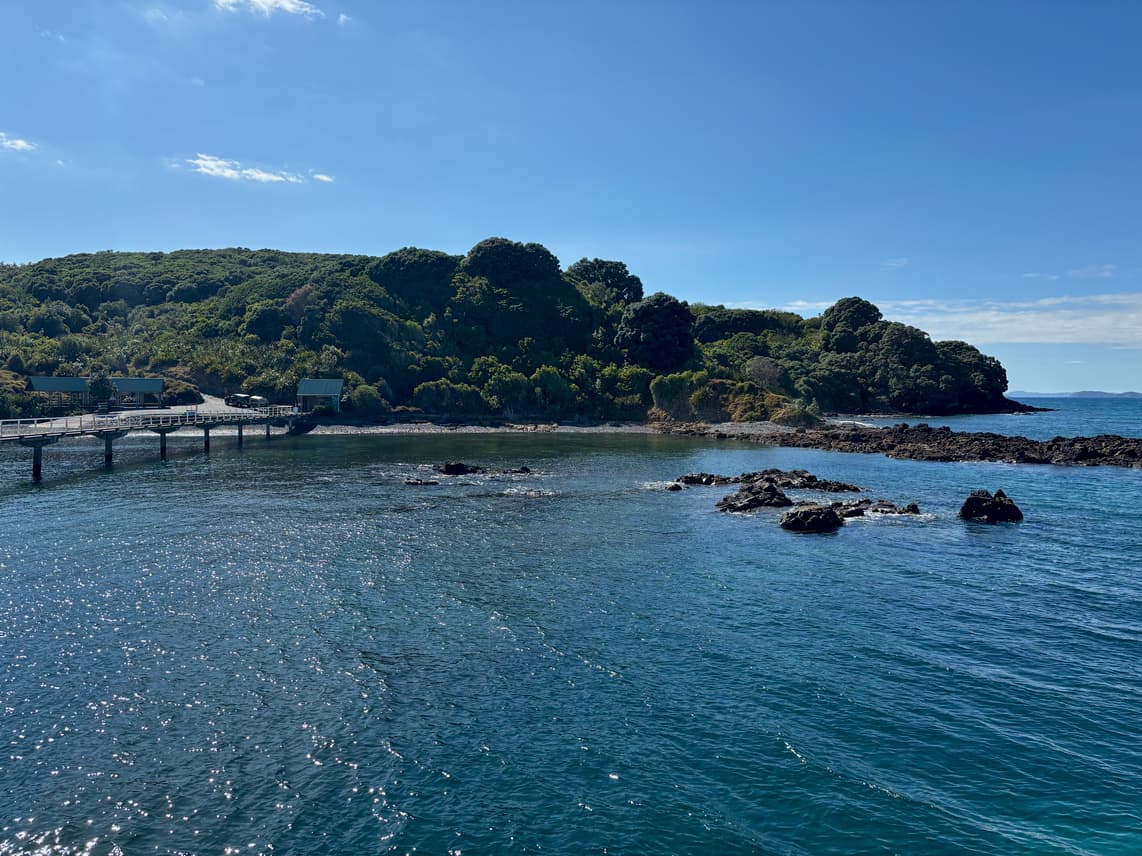
There are strict rules to keep pests from the islands in the hauraki gulf. We had to scrub and disinfect our boots before we could get on board. After a short 50-minute cruise to Gulf Harbour and another 20 minute we were dropped of at the wharf on the Island for 4 hours to explore the island.
 The clear water near Tiritiri
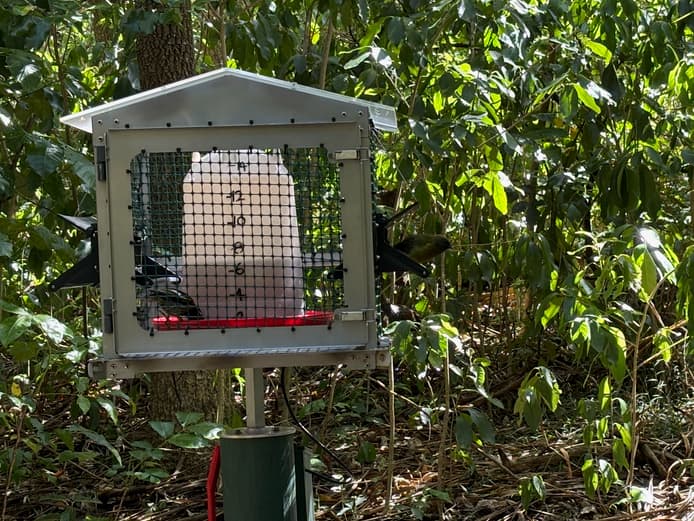
The island was a pasture island until the 80s and then was reforested with native trees and plants. Today it is the home to many native and endangered birds including Little Penguins, Hihi and Korimako.
 Korimako
The northern part of the island feels almost untouched. Even though we were like 50 people you would barely meet any when out on the trails. They also did a great job of explaining the preservation efforts and educating on different flora and fauna.
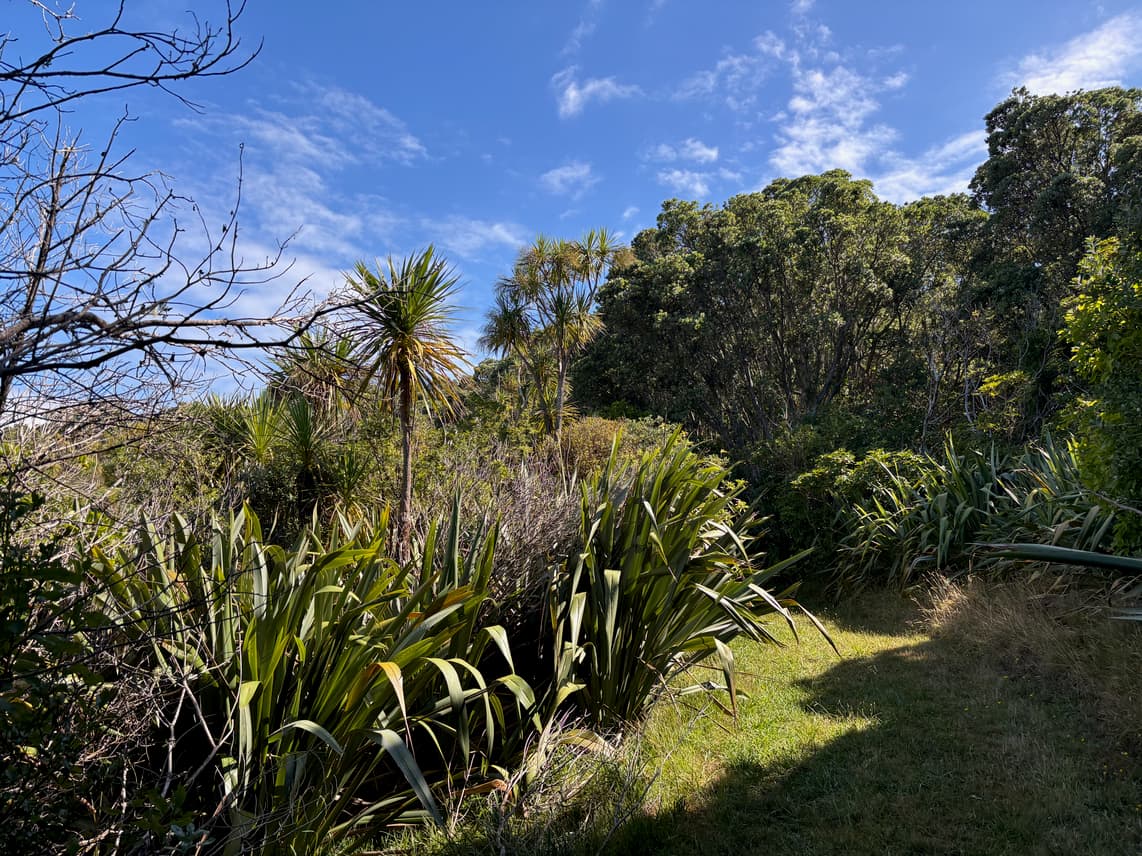 Cabbage Trees and New Zealand Flax
I hiked once around the whole island and saw a lot of wildlife. Especially the rugged east coast had some stunning views.
 East Coast
